Choosing the Right Diaper
Selecting the right diaper for your baby can feel overwhelming. This guide helps you make an informed decision.
Cloth vs. Disposable Diapers
Choosing between cloth and disposable diapers hinges on lifestyle and preferences. Cloth diapers are reusable, eco-friendly, and can be cost-effective over time. They require regular washing and maintenance. Modern cloth options include pre-folds, fitteds, and all-in-ones. Disposable diapers are convenient, offering ease of use and disposability. Although they generate more waste, they often have better absorbency and leak protection. Both types have varying sizes and features to suit different needs.
Factors to Consider When Buying
When buying diapers, consider the baby’s weight and size. Diapers come in various sizes, accommodating different growth stages. Look for key features like absorbency, fit, and breathability. High absorbency prevents leaks and keeps the baby dry. A snug fit around the legs and waist ensures comfort and containment. Breathable materials reduce the risk of diaper rash. Factor in cost-effectiveness, especially for long-term use. Some brands offer subscription services for diapers, providing convenience and savings. Lastly, consider the baby’s skin sensitivity; hypoallergenic and fragrance-free options minimize irritation.
Diaper Changing Essentials

Every new parent needs to be prepared for diaper changes by having the right supplies and setting up an efficient diaper changing station. Here are the key items and setup tips.
Must-Have Supplies
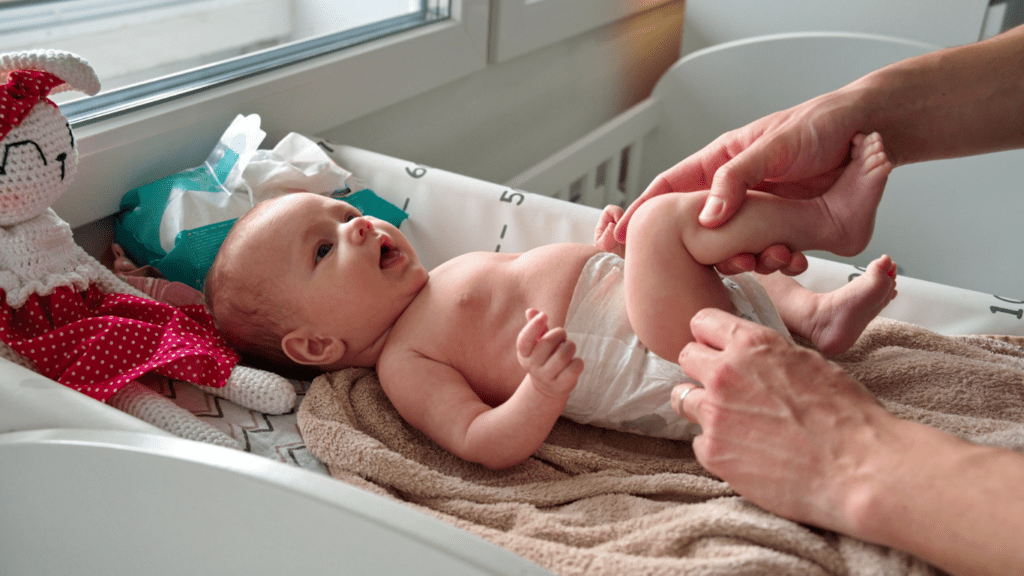
A properly stocked diaper changing station ensures quick and smooth changes. These are the essentials:
- Diapers: Ensure a steady supply of diapers in the correct size. Keep extra packs accessible.
- Wipes: Use unscented, hypoallergenic wipes to prevent skin irritation.
- Diaper Cream: Choose a high-quality barrier cream to prevent and treat diaper rash.
- Changing Pad: Opt for a waterproof, easy-to-clean changing pad for added comfort and hygiene.
- Disposable Bags: Use these for disposing of soiled diapers to contain odors.
- Extra Clothes: Keep a few sets nearby to handle unexpected messes.
- Hand Sanitizer: Maintain hygiene before and after every change.
Setting Up a Diaper Changing Station
An organized diaper changing station simplifies the diapering process. Here’s how to set it up:
- Designate a Space: Select a convenient and safe location, typically near the crib or in the nursery.
- Storage: Use shelves, bins, or drawers to keep supplies tidy and accessible. Label each storage space for easy finding.
- Safety First: Ensure the changing surface is secure and never leave the baby unattended. Use safety straps if available.
- Lighting: Install adequate lighting to clearly see during changes, especially for night-time diapering.
- Comfort: Make the area comfortable with a soft mat or cover for you to kneel or lean on.
Properly organizing your diaper changing essentials and station will save time, reduce stress, and make diaper changes more manageable.
Step-by-Step Diaper Changing
Diaper changes can be quick and stress-free with the right steps and preparation. Below is a detailed guide to help new parents master this essential task.
Preparing for a Diaper Change
Preparation makes the process smoother and safer. First, gather all the necessary supplies. This includes a clean diaper, wipes, diaper cream, and a disposable bag. Ensure everything’s within reach to avoid leaving the baby unattended. Lay the baby on a clean changing pad or surface for hygiene and comfort. If using a public changing table, place a disposable pad under the baby to prevent contact with germs. Remove any sharp objects or potential hazards from the immediate area.
Changing a Diaper
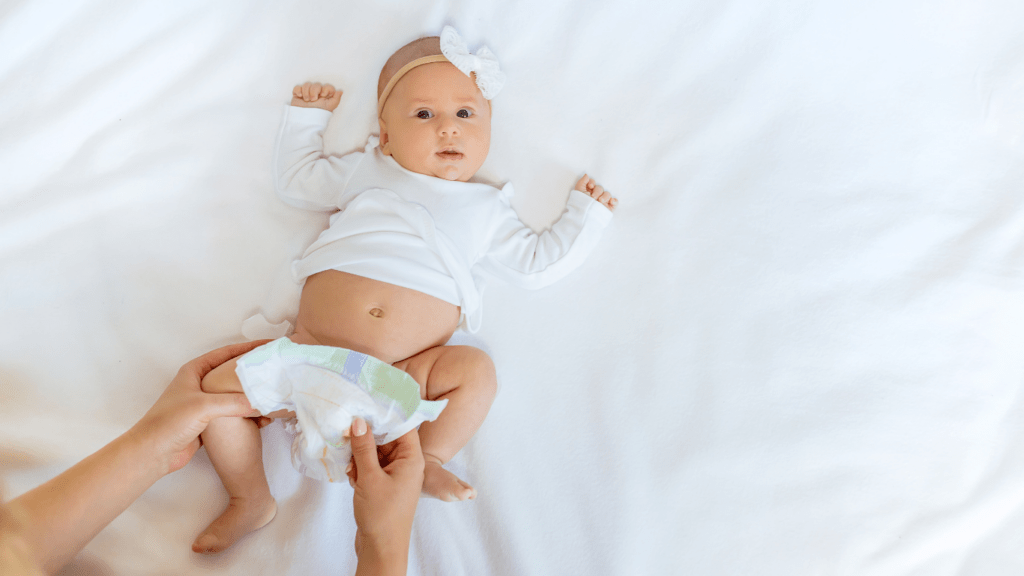
Begin by unfastening the soiled diaper but don’t remove it right away. Use the front of the diaper to wipe off as much mess as possible. Fold the soiled diaper under the baby with the clean side facing up. Using a wipe, clean the baby’s front thoroughly, paying special attention to creases and folds. For baby girls, wipe front to back to avoid infections, and for baby boys, cover the penis with a cloth to prevent accidental spraying.
Lift the baby’s legs and clean the bottom well. Slide the new diaper under the baby by aligning its back with the baby’s waist. For a snug fit, fasten the diaper tabs over the front. Ensure the diaper isn’t too tight to prevent irritation and provide comfort. Dispose of the soiled diaper and wipes in the plastic bag, tie it securely, and discard it properly. Finally, wash your hands thoroughly or use hand sanitizer.
Dealing with Common Diapering Issues
New parents often face common diapering issues that can be frustrating. Understanding how to handle these concerns makes the process smoother.
Diaper Rash Prevention and Treatment
Diaper rash is a frequent concern faced by new parents. Keeping the baby’s skin dry and clean prevents most rashes. I recommend changing diapers frequently to reduce moisture buildup. Ensure the baby’s bottom is dry before putting on a fresh diaper. Using barrier creams, like zinc oxide, creates a protective layer against irritation.
If a rash occurs, let the baby have some diaper-free time to allow the skin to breathe. Avoid using wipes with alcohol or fragrances. Instead, opt for water-based wipes. If the rash persists for over three days, seek advice from a pediatrician to rule out infections.
Handling Leaks and Blowouts
Leaks and blowouts happen to every parent. Ensuring the correct diaper size significantly reduces these incidents. Check the diaper’s fit around the waist and legs; it shouldn’t be too tight or loose. I recommend using diapers with elastic leg cuffs and a snug waistband to provide better containment.
For nighttime or long trips, consider using overnight diapers designed for extra absorbency. Double-checking the diaper’s fit after putting it on can help secure a better hold. If blowouts keep occurring, it might be a sign to switch to a different brand or size that fits your baby better.
Tips for On-the-Go Diapering
Diapering outside the home can feel daunting, but a bit of planning makes it more manageable. Here are some strategies for effective on-the-go diapering.
Packing a Diaper Bag
First, I ensure my diaper bag is equipped with essentials. I pack:
- Diapers: I carry at least five diapers to be prepared for any situation.
- Wipes: A travel-sized pack of wipes is compact yet sufficient for multiple changes.
- Changing Pad: A portable, foldable changing pad keeps my baby clean and comfortable.
- Diaper Cream: I always bring a small tube of diaper cream to prevent or treat diaper rash.
- Disposable Bags: These are useful for containing soiled diapers and wipes.
- Extra Clothes: I include a full change of clothes for the baby in case of leaks or blowouts.
- Hand Sanitizer: Essential for cleaning my hands when soap and water aren’t available.
Finding Changing Stations
When I’m on the go, I look for family-friendly places. Many stores, restaurants, and public buildings have changing stations in restrooms. If I can’t find a designated area, I use a portable changing pad and look for a clean, flat surface. I line it with disposable covers to ensure hygiene. Apps like “Mom Maps” or “Baby Change” help locate nearby facilities. Planning routes around known changing stations makes outings smoother.
On-the-go diapering becomes easier with preparation and smart decision-making, ensuring comfort for both my baby and me.


 Jordan Lamond – Family Travel Expert As the Family Travel Expert at Makes Parenting Watch, Jordan Lamond is passionate about helping families explore the world together while making travel as seamless and enjoyable as possible. With a background in tourism and a decade of personal experience traveling with his own family, Jordan offers firsthand insights into the challenges and rewards of family travel. He covers everything from selecting family-friendly destinations to packing essentials, travel safety, and navigating long flights or road trips with young children. Jordan’s mission is to empower parents to embark on travel adventures that strengthen family bonds, create lasting memories, and expose children to new cultures and experiences. His expert advice has helped countless families plan stress-free vacations, and his travel guides are some of the most popular resources on the site. Jordan also regularly reviews travel products and services, ensuring parents are equipped with the best tools for successful trips.
